
How Riva Spain Floors Bring European Elegance Into Modern Homes
Every successful remodeling project begins with a challenge. In this case study, we’ll examine how one family transformed the appearance and functionality of their main living areas by replacing aging flooring with Riva Spain floors. While every home is unique, the planning process, decision-making strategy, and lessons learned can help other homeowners preparing for similar renovations.
The Situation
The homeowners had lived in their two-story house for nearly fifteen years. Although the kitchen had been updated several years earlier, the flooring throughout the first floor remained original. Different materials had been installed over time, including hardwood in the dining room, laminate in the hallway, and tile in the kitchen. Each surface looked acceptable on its own, but together they created a fragmented appearance that made the home feel smaller than it actually was.
The family wanted a flooring solution that would connect the kitchen, dining area, living room, and hallway while introducing a warmer, more contemporary style. Durability was also important because the household included two children and an active dog.
| Project Overview | Details |
|---|---|
| Home Type | Two-story single-family home |
| Primary Goal | Create a cohesive open-concept interior |
| Main Living Area | Kitchen, dining room, hallway, living room |
| Key Priorities | Durability, visual continuity, timeless design |
- 4 connected living spaces included in the renovation.
- 1 continuous flooring system planned.
- Primary objective: improve both appearance and everyday functionality.
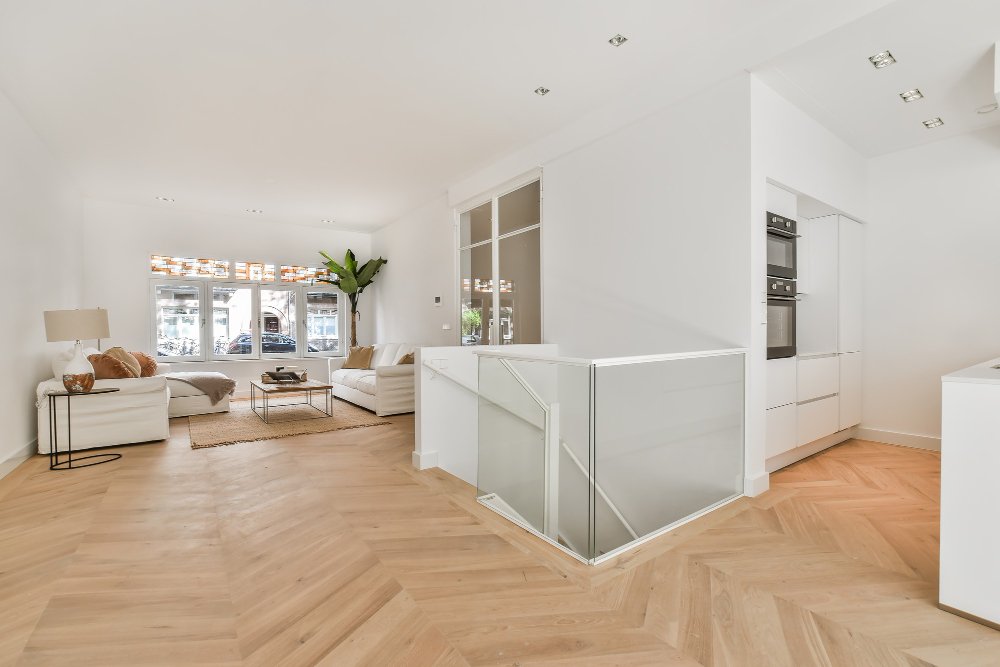
The Challenge
During the initial consultation, it became clear that the biggest issue was not the condition of the existing floors—it was the lack of consistency. Every room had a different texture, color, and transition, interrupting the natural flow between spaces.
The homeowners also wanted flooring capable of supporting daily activity without requiring extensive maintenance. Traditional solid hardwood remained an option, but they were equally interested in engineered wood products that offered greater dimensional stability while preserving the authentic appearance of natural wood.
After reviewing several alternatives, they began comparing different premium flooring collections with an emphasis on wide planks, natural finishes, and long-term durability.
| Before | After (Project Goal) |
|---|---|
| Multiple flooring materials | One continuous flooring design |
| Visible room transitions | Smooth visual flow |
| Mixed design styles | Consistent contemporary appearance |
| Higher maintenance | Simplified upkeep |
Project Timeline
| Stage | Activity |
|---|---|
| Week 1 | Initial consultation and measurements |
| Week 2 | Material comparison and product selection |
| Week 3 | Subfloor inspection and preparation |
| Week 4 | Flooring installation scheduled |
One important lesson from the planning phase was that flooring should not be selected independently from the rest of the home’s finishes. Cabinet colors, wall paint, lighting, and furniture all influenced the final material choice. Rather than choosing the darkest or lightest option available, the homeowners selected a neutral European-inspired finish that complemented both existing cabinetry and future decorating plans.
This careful planning ultimately led the family to choose Riva Spain floors, recognizing that the project required more than attractive flooring—it required a surface capable of visually connecting every major living area.
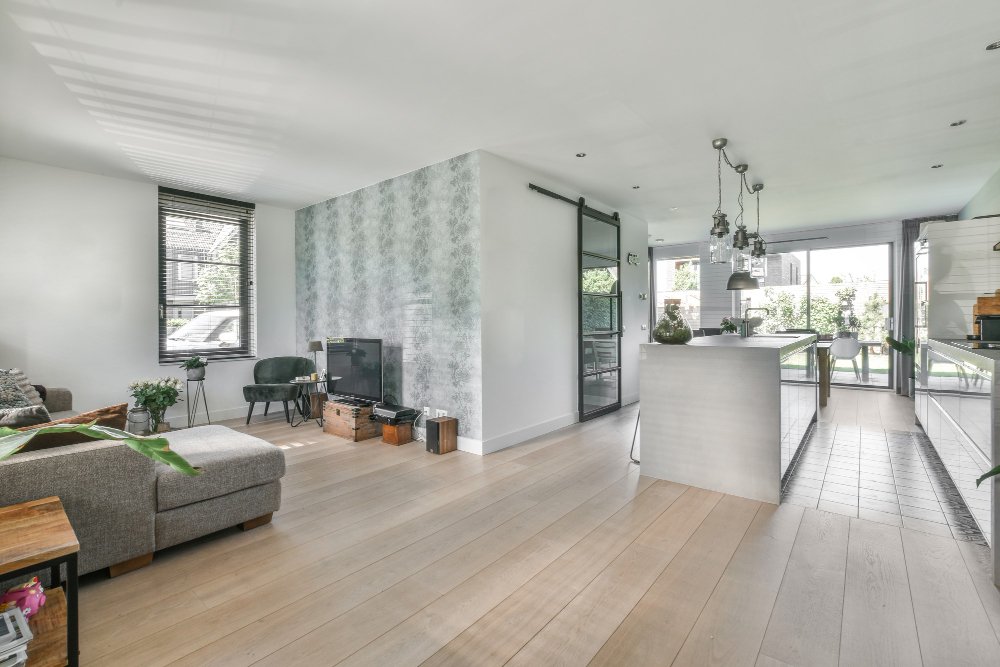
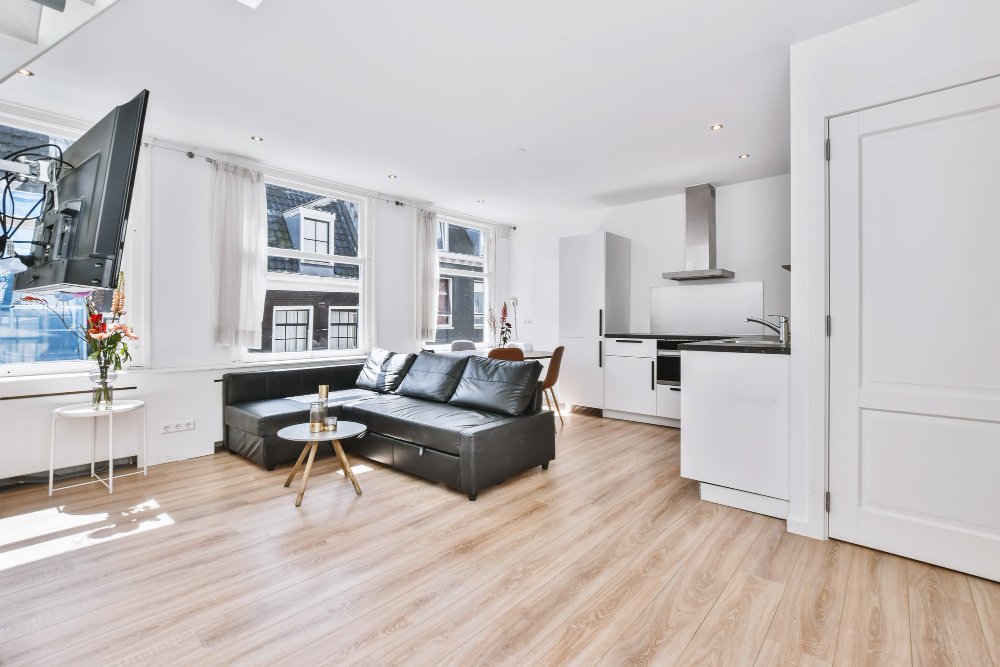
The Solution
After comparing several engineered wood collections, the homeowners selected Riva Spain floors because the product aligned with both their design goals and everyday lifestyle requirements. Rather than focusing on color alone, the decision considered plank dimensions, surface texture, finish durability, and the ability to create visual continuity across multiple rooms.
The installation plan emphasized consistency. Instead of breaking the flooring at each doorway, the design called for continuous plank installation throughout the kitchen, dining room, hallway, and living room. This approach reduced unnecessary transitions and helped the first floor feel noticeably larger.
Before installation began, the existing flooring was removed, the subfloor was inspected and leveled, and moisture conditions were verified. Careful planning during this stage minimized installation issues and helped ensure a uniform finished appearance.
| Installation Phase | Purpose |
|---|---|
| Existing floor removal | Create a clean installation surface |
| Subfloor preparation | Improve stability and long-term performance |
| Material acclimation | Support dimensional stability |
| Continuous plank layout | Create visual flow between rooms |
| Final inspection | Verify finish quality and alignment |
The Results
The transformation became apparent immediately after installation. Although the home’s footprint remained exactly the same, the continuous flooring created the impression of a larger, brighter, and more connected living environment.
The wide-plank design reduced visual interruptions, while the natural wood tones complemented both existing cabinetry and updated lighting. Family members also noticed practical improvements during everyday use, including easier cleaning and smoother movement between rooms.
| Before | After |
|---|---|
| Disconnected room appearance | Unified open-concept design |
| Multiple flooring transitions | Continuous flooring throughout |
| Mixed interior styles | Consistent European-inspired aesthetic |
| High visual clutter | Cleaner architectural flow |
| Older flooring materials | Modern engineered wood system |
- ✓ Continuous flooring improved visual flow across four connected rooms.
- ✓ Modern wood tones created a brighter, more welcoming interior.
- ✓ Fewer floor transitions simplified cleaning and maintenance.
- ✓ The home achieved a more cohesive architectural style without changing the floor plan.
Don’t wait!
Reach out to us today to schedule your consultation and discover how we can transform your floors into a stunning foundation for your home!
Project Timeline Summary
| Timeline | Milestone |
|---|---|
| Week 1 | Planning and measurements completed |
| Week 2 | Material evaluation and product selection |
| Week 3 | Subfloor preparation and layout planning |
| Week 4 | Professional installation completed |
| Final Review | Quality inspection and homeowner walkthrough |
- 4 major living areas visually unified.
- 1 continuous flooring system installed.
- Reduced visual interruptions throughout the first floor.
- Improved day-to-day functionality and simplified maintenance.
Key Lessons
This remodeling project demonstrated that successful flooring renovations involve much more than selecting an attractive material. Careful planning, consistent design choices, and professional installation all contributed to the final outcome.
One of the most valuable lessons was the importance of evaluating flooring as part of the home’s overall design rather than as an isolated upgrade. Cabinetry, wall colors, lighting, and furniture all influenced the final appearance, making coordination just as important as product quality.
Another important takeaway involved research. Before making their final decision, the homeowners reviewed several Industry remodeling inspiration publications and completed renovation galleries. Seeing real-world examples helped them compare plank widths, finish colors, and installation patterns in fully designed interiors instead of relying only on showroom samples.
For homeowners planning a similar project, this case study illustrates that investing in thoughtfully selected premium flooring can improve not only the appearance of a home but also how the space functions every day. When material selection, installation quality, and long-term planning work together, the result is an interior that remains both practical and visually appealing for years to come.