Bathroom Floor Tiles: A Step-by-Step Guide to a Fresh New Look
If there’s one project that can completely transform a bathroom without breaking the bank, it’s upgrading your bathroom floor tiles. Tiles bring durability, style, and a sense of freshness to one of the most important spaces in your home. And the best part? With the right plan, you can achieve professional results step by step.
Here’s a clear guide to making your bathroom floor tile installation a success.
Step 1: Choose the Right Tile
Before you even pick up a tool, focus on materials. Bathroom floor tiles need to balance style and performance.
Porcelain or Ceramic: Waterproof, durable, and widely available.
Natural Stone: Offers timeless elegance, but requires sealing and extra care.
Slip-Resistant Options: Essential for safety in a wet environment.
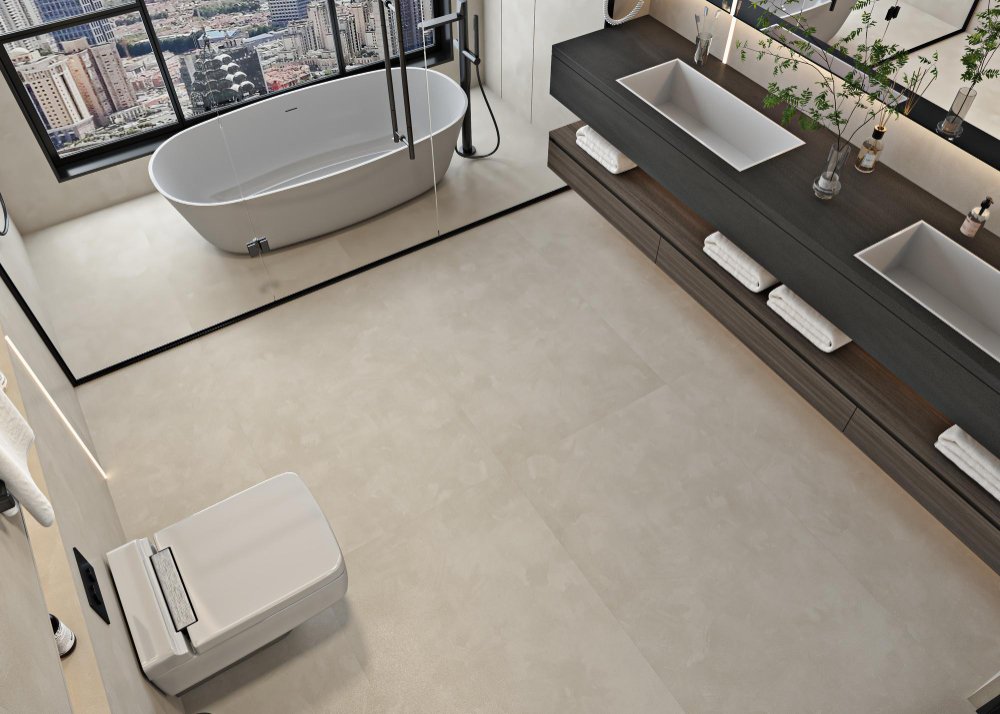
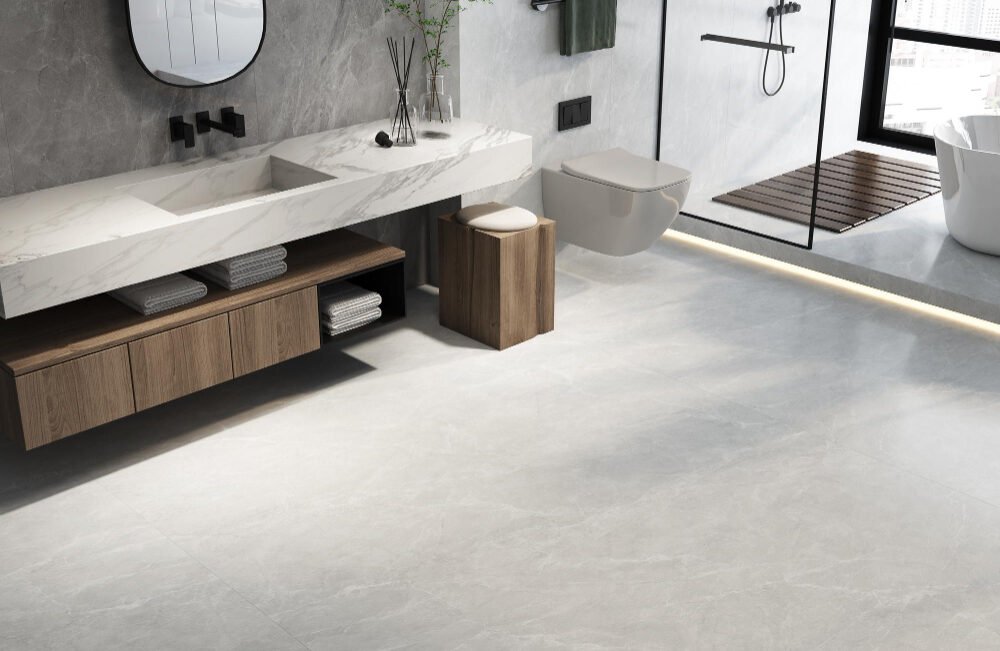
Think about your bathroom’s size and lighting. Light-colored tiles can make a small bathroom feel larger, while darker tiles add drama and warmth.
👉 Want professional guidance? Our flooring remodel experts can help you choose tile that fits both your lifestyle and budget.
Step 2: Prepare the Subfloor
This is where many projects succeed—or fail. Tiles require a solid, even surface.
Remove old flooring.
Inspect the subfloor for damage or moisture.
Use a leveling compound if the surface isn’t perfectly flat.
Remember: the stronger your foundation, the longer your tiles will last.
Step 3: Plan Your Layout
Rushing into tile placement leads to awkward cuts and uneven results.
Start by measuring the room.
Snap chalk lines to find the center point.
Lay out a dry run of tiles to check alignment.
This step ensures your finished floor looks balanced, with cut tiles evenly distributed around the edges.
Step 4: Apply the Thinset
Thinset mortar is the adhesive that bonds tiles to the subfloor.
Mix according to instructions.
Spread with a notched trowel, holding it at a 45-degree angle.
Work in small sections to keep thinset from drying too quickly.
Consistency here sets the stage for smooth, secure results.

Step 5: Set the Tiles
Now comes the satisfying part: laying tiles.
Place tiles gently into the thinset, pressing firmly.
Use spacers between tiles to maintain consistent grout lines.
Check alignment often with a level.
Take your time—precision pays off.
Step 6: Cut Edge Tiles
Few bathrooms allow for a perfect fit without trimming. Use a wet saw or tile cutter to shape edge pieces. Always measure twice before cutting to avoid mistakes.
Step 7: Apply the Grout
Once tiles have set (usually 24 hours), it’s time to grout.
Mix grout to a peanut-butter-like consistency.
Spread diagonally across tiles with a rubber float.
Wipe away excess with a damp sponge, rinsing frequently.
Allow grout to cure, then buff tiles with a dry cloth to remove haze.
Don’t wait!
Reach out to us today to schedule your consultation and discover how we can transform your floors into a stunning foundation for your home!
Step 8: Seal and Protect
If you’ve chosen natural stone or porous grout, sealing is a must. A good sealant protects against stains, moisture, and mildew.
The End Result: A Fresh, Stylish Bathroom
By following these steps, you’ll give your bathroom a whole new look—one that’s both functional and beautiful. Bathroom floor tiles offer endless style possibilities, from classic subway to bold patterns. And when installed correctly, they’ll stand up to years of daily use.
Final Thoughts
Installing bathroom floor tiles isn’t just about upgrading a surface—it’s about creating a foundation for relaxation and comfort. With thoughtful planning, careful preparation, and the right materials, your bathroom can go from outdated to outstanding in just a few days.
At America’s Dream HomeWorks, we specialize in tile flooring installation as part of our full bathroom remodeling services. Whether you’re updating a guest bath or designing a spa-like retreat, we’ll help you create a floor that’s as durable as it is beautiful.
✨ Ready to give your bathroom the fresh new look it deserves? Let’s start with the perfect tile.